TILE & FLOORS · 8 MIN READ
How to Clean Bathroom Grout Without Scrubbing for Hours
A practical, low-effort method for cleaning bathroom grout: prep, cleaner choice, dwell time, brush technique, and upkeep tips.
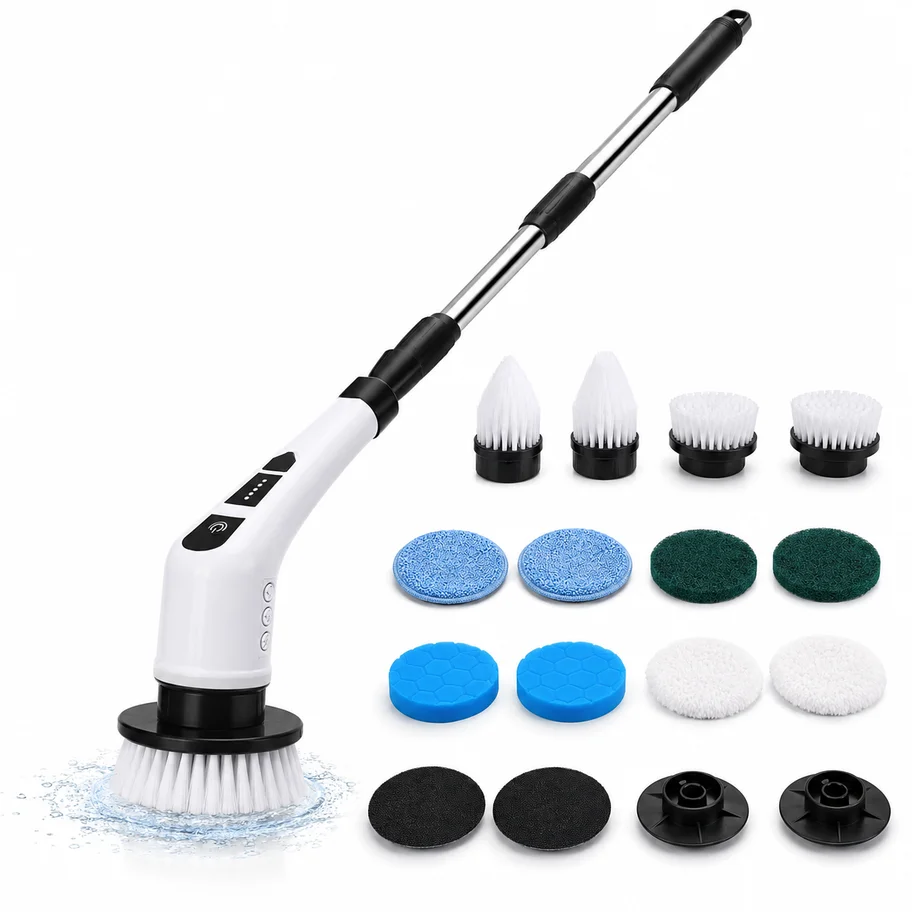
Grout looks tough, but it is actually porous, which is exactly why it stains faster than the tile around it. Soap residue, mineral deposits, and everyday grime settle into those tiny grooves and cling there, so scrubbing dry or with a weak cleaner just moves dirt around instead of lifting it out. The fastest path to clean grout is not more elbow grease, it is the right prep, the right cleaner, and enough dwell time before you ever pick up a brush.
This guide walks through a repeatable process you can use on shower floors, tub surrounds, and bathroom tile floors, plus how to tell when a powered scrubber will save you real time versus when hand-scrubbing or a professional is the better call.
Why grout traps grime in the first place
Unlike glazed tile, grout has a rougher, more porous surface. That texture is great for adhesion during installation, but it also means soap scum, body oils, hard-water minerals, and airborne dust have plenty of tiny crevices to lodge into. Once grime sits for a while, it bonds to the surface rather than sitting on top of it, which is why a quick wipe rarely does much. Understanding this helps explain why dwell time and the right cleaner matter more than sheer scrubbing force.
Prep: clear, dry-clean, and ventilate
A few minutes of prep makes the rest of the job faster and more effective.
- 1Clear the area of bath mats, bottles, and anything else in the way so you can move freely along the grout lines.
- 2Do a quick dry pass first: sweep or vacuum loose hair, dust, and grit so you are not grinding debris into the grout once it is wet.
- 3Open a window or turn on the bathroom fan for airflow, especially if you are using a cleaner with a noticeable scent.
- 4Have towels or a squeegee ready for the rinse and dry stage so you are not scrambling once the grout is clean.
Before you start
Always follow the instructions on your cleaning product and on any surface-care guidance from your tile or grout manufacturer. Ventilate the space, and test any unfamiliar cleaner on a small, inconspicuous area first. Never mix cleaning chemicals together.
Choosing a cleaner suited to your grout and tile
Not every cleaner is right for every surface. Natural stone tile, in particular, can be sensitive to certain formulas, so check that whatever you use is labelled safe for your specific tile and grout type before applying it broadly. If your grout is sealed, a gentler routine cleaner is usually enough to maintain it. If it is unsealed or heavily stained, you may need a product designed specifically for grout, applied with a bit more patience.
Give the cleaner time to work
This is the step most people skip, and it is the one that saves the most scrubbing time. After applying cleaner along the grout lines, let it sit for the dwell time recommended on the label, typically several minutes, before you touch a brush to it. During this window, the cleaner is breaking down grime chemically so your brush only has to lift it away, not fight through it. Use this time to tackle another task in the bathroom, like wiping down the mirror or fixtures, so the wait does not feel wasted.
Brush choice: stiff vs. soft, narrow vs. wide
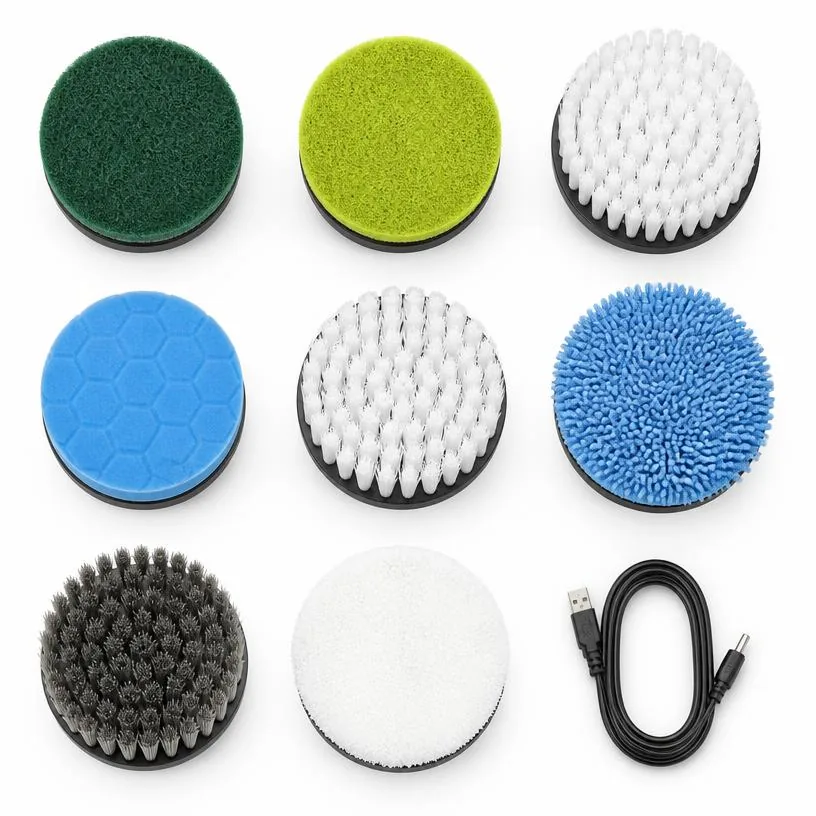
Grout lines are narrow, so a brush head that matches that width will do a more thorough job than a wide, flat brush that only skims the surface. A stiffer bristle can help with heavier buildup on durable, sealed grout, while a softer brush is the safer starting point for unsealed or more delicate grout. If you are unsure how much grime you are dealing with, start softer and step up only if needed.
Technique: sections, light pressure, no gouging
Once the cleaner has had time to work, move through the area methodically.
- Work in small sections rather than trying to cover the whole floor or shower at once, so the cleaner does not dry out before you get to it.
- Use light, steady pressure and let the brush do the work rather than pressing down hard, which can wear down grout over time.
- Follow the direction of the grout line rather than scrubbing across it at odd angles, which helps avoid gouging softer or aging grout.
- Check your progress every few passes so you are not over-scrubbing an area that is already clean.
Rinsing and drying properly
Rinse thoroughly with clean water to remove all cleaner residue, since leftover product can attract new dirt or leave a dull film. On floors, a mop or cloth pass with clean water usually does the trick. In the shower, a handheld showerhead or a bucket of water works well. Finish by drying the area with a towel or squeegee. Damp grout left to air-dry slowly is more likely to develop new mildew, so a quick manual dry pass genuinely helps it stay cleaner longer.
Sealed vs. unsealed grout: a caution
If you are not sure whether your grout is sealed, treat it as unsealed and use gentler products and lighter pressure until you confirm otherwise. Unsealed grout absorbs liquids and cleaners more readily, which means it can also absorb stains more easily, so quicker action on spills and a gentler cleaning approach both matter. Sealed grout is more resistant to staining but the seal itself can wear down over time with harsh scrubbing, so it is still worth being mindful of pressure and product choice.
When powered scrubbing helps, and when to hand-scrub or call a pro
A powered spin scrubber tends to be most useful when you have a lot of linear grout to cover, such as a full shower floor or a tiled bathroom floor, because it maintains even pressure and saves your wrists from repetitive motion. For small touch-ups, a single stained corner, or grout around delicate fixtures, a hand brush or a compact detail scrubber gives you more control in tight spots. If grout is crumbling, discoloured beneath the surface, or showing signs of mold that will not lift after a couple of honest attempts, it is worth bringing in a professional rather than continuing to scrub, since that can point to a deeper moisture or installation issue.
Upkeep: staying ahead of buildup
The easiest grout to clean is grout that never gets heavily soiled in the first place. A quick rinse or wipe-down after showers, a squeegee pass on shower floors, and a light cleaning pass every week or two will keep grime from building into a deep-set stain that needs aggressive scrubbing later. Spending five minutes regularly is almost always less effort than one long session every few months.
Cleaning tools from ORVENA
Cordless tools built for everyday cleaning: SpinPro for reach and larger surfaces, Detail for precision work, Extra 18PC for replacement and specialty accessories.
WRITTEN BY
ORVENA Editorial Team
HOME CLEANING GUIDES
The ORVENA editorial team writes practical, tested-in-the-real-world cleaning guides. Every method here is written to be safe for common household surfaces, and product notes are limited to what we can confirm about our own tools — SpinPro, Detail and Extra 18PC.
PUBLISHED AUGUST 18, 2026
ORVENA JOURNAL
Get new cleaning guides by email
Practical guides for grout, glass, tubs and tile — plus ORVENA product updates. No spam, and you can opt out at any time.
Keep reading
TILE & FLOORS
The Best Way to Clean Tile Floors Without Spending All Day Scrubbing
BATHROOM
How to Clean Hard-to-Reach Bathroom Areas
TOOLS