FIXTURES · 8 MIN READ
How to Clean Around Faucets, Fixtures and Tight Corners
A room-by-room look at the faucet bases, joints, and tight corners that collect grime, plus finish-safe techniques to clean them properly.
Faucets and fixtures rarely fail because the visible parts are dirty. The buildup that actually causes dullness, odour, and mineral crust hides in the seams — where the faucet meets the counter, where the handle pivots, and where caulk lines meet metal. These spots get wiped past instead of wiped out, day after day.
The fix is not more scrubbing on the parts you can already see. It is a short list of exact spots to target, the right cleaner for the finish you have, and a brush narrow enough to actually get into the gap.
The spots that get missed
- Faucet base and seam — where the faucet body meets the counter or sink deck, moisture and soap collect in the ring around the base.
- Aerator area — the mesh screen and threading at the tip of the spout traps mineral deposits and can affect flow over time.
- Handle joints — the pivot point of lever handles and the collar around knob handles build up grime that is easy to overlook.
- Sink overflow and drain rim — the small overflow hole and the underside lip of the drain collect residue that plain wiping never reaches.
- Caulk line where sink or tub meets the wall — this seam holds soap scum and moisture longer than open surfaces.
- Shower door tracks and hinges — tracks trap grit and standing water; hinges collect grime in the folds.
- Toilet base and behind hinges — the ring where the toilet meets the floor and the hinge area at the back of the seat are frequently skipped entirely.
Match the cleaner to the finish
Fixture finishes vary more than most people realize, and the wrong cleaner can dull or streak them permanently. Brushed and matte finishes show streaks easily and generally do best with a mild cleaner and a soft brush rather than anything abrasive. Brass and coated or lacquered finishes can be especially sensitive to harsh chemicals and abrasive pads, which can strip the coating. Chrome and standard polished finishes tend to tolerate a wider range of everyday bathroom cleaners.
Before you start
Always follow the instructions on your cleaning product and the manufacturer's care guidance for your specific fixture finish. Ventilate the room as needed, and test any unfamiliar cleaner on a small, inconspicuous area first. Never mix cleaning chemicals together.
Narrow-brush technique for seams and joints
For the seams listed above, a wide brush or cloth simply cannot make contact with the grime sitting in the gap. A narrow, precision brush head lets you work directly into the seam at an angle, following the curve of the joint rather than skating across the top of it.
- 1Apply a small amount of a cleaner suited to the fixture's finish directly along the seam or joint.
- 2Let it sit briefly per the product label so it has time to loosen residue.
- 3Work a narrow brush along the seam in short, controlled strokes, following the contour of the joint.
- 4Rinse the area with a damp cloth to remove loosened residue and cleaner.
- 5Dry immediately with a clean microfibre cloth to prevent water spots from forming in the seam.
Do not forget the surrounding surfaces
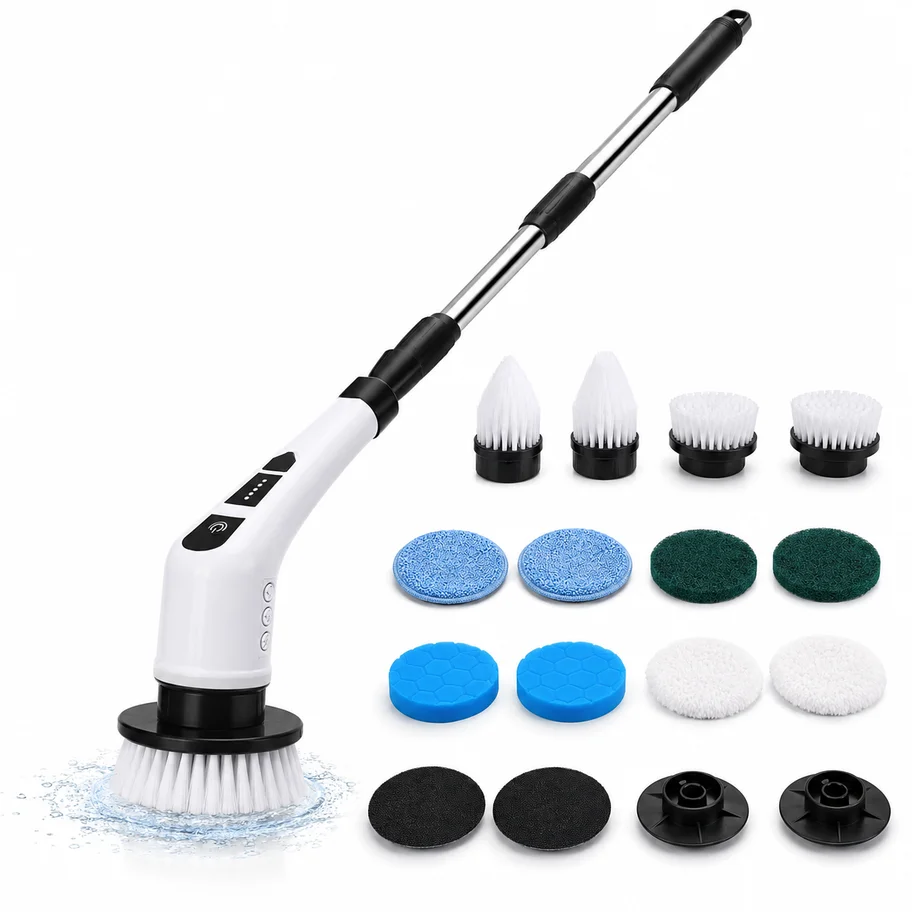
Once the tight spots are handled, the counter, sink basin, and tub deck around the fixture still need attention so the whole area looks consistent. For these broader flat and curved surfaces, a larger scrubbing tool with an extendable handle, like SpinPro, makes quicker work of the open areas surrounding the fixture without switching tools mid-task.
Drying to prevent water spots
Mineral deposits form when water sits and evaporates on a surface rather than being wiped away. This is especially visible on darker finishes like matte black and on polished chrome. After cleaning any fixture, take a few extra seconds to dry the base, handle joints, and seam lines with a dry microfibre cloth. This one habit prevents most of the cloudy buildup that makes fixtures look neglected between deeper cleans.
A quick weekly pass
- Wipe down faucet bases, handles, and aerators with a damp cloth and a finish-appropriate cleaner.
- Run a narrow brush along the caulk line and drain rim to catch early buildup before it sets in.
- Clear visible debris from shower door tracks and hinge folds.
- Check the toilet base and seat hinges for residue.
- Dry all fixtures fully to prevent spotting.
Keeping this short list on rotation means the seams and joints never get the chance to build up into a stubborn, deep-clean-only job. A few focused minutes a week, aimed at the right spots with the right brush and cleaner, keeps every fixture in the bathroom looking as sharp as the day it was installed.
Cleaning tools from ORVENA
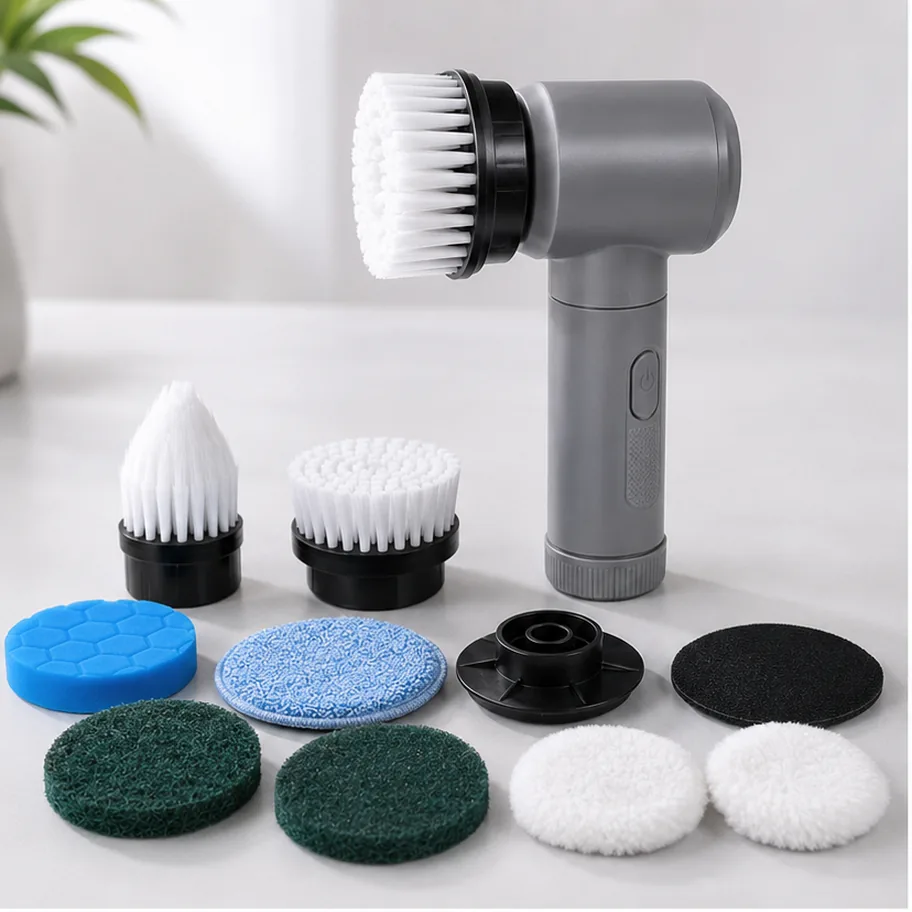
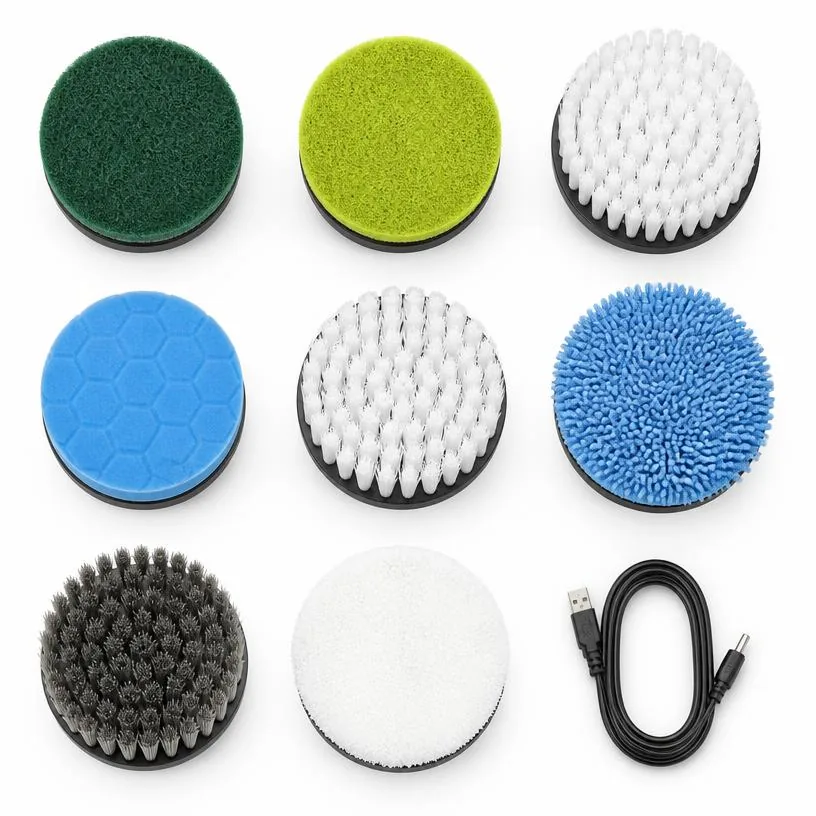
Cordless tools built for everyday cleaning: SpinPro for reach and larger surfaces, Detail for precision work, Extra 18PC for replacement and specialty accessories.
WRITTEN BY
ORVENA Editorial Team
HOME CLEANING GUIDES
The ORVENA editorial team writes practical, tested-in-the-real-world cleaning guides. Every method here is written to be safe for common household surfaces, and product notes are limited to what we can confirm about our own tools — SpinPro, Detail and Extra 18PC.
PUBLISHED AUGUST 18, 2026
ORVENA JOURNAL
Get new cleaning guides by email
Practical guides for grout, glass, tubs and tile — plus ORVENA product updates. No spam, and you can opt out at any time.
Keep reading
BATHROOM
How to Clean Hard-to-Reach Bathroom Areas
TOOLS
Cleaning Brush Head Guide: Which Attachment Should You Use?
BATHROOM